Your journey to learning Flash Photography Basics starts here.
Flash Photography can transform ordinary moments into extraordinary images, but mastering this art requires a blend of technical skill and creative vision.
Whether you’re capturing a wedding, portraits, or action shots, understanding the essential basics of flash photography will elevate your skills and broaden your artistic horizons. This guide will walk you through key concepts, from the intricacies of flash settings to tips for creating soft, flattering light.
As we delve into the world of artificial lighting, you’ll discover how to manipulate shadows, enhance colors, and ensure that your subjects truly shine.
By the end of this article, you’ll not only grasp the fundamentals but also gain the confidence needed to experiment with flash techniques, resulting in striking photographs that leave a lasting impression.
Join me to illuminate your path, become a Flash Photography Master.
1. Flash Photography 101: Understanding the Basics
Flash Photography is an essential skill for photographers who want to control light in their images. A flash provides a brief burst of light that can freeze motion and add emphasis to your subject.
This instant illumination can be used to highlight details, improve exposure in low-light conditions, or create dramatic effects by manipulating shadows.
At the core of flash photography is the concept of artificial light. Natural light is often unpredictable and can be difficult to control, but with flash, you have the power to shape your lighting environment. This control allows for greater creative freedom, enabling photographers to craft images that match their artistic vision.

Mastering flash photography involves understanding the behavior of light and how it interacts with different surfaces and environments.
One of the key aspects of flash photography is knowing when and how to use it. While it can be tempting to rely solely on natural light, there are many situations where flash can significantly enhance your images.
For instance, indoor events, nighttime photography, and backlit scenes are all scenarios where flash can make a substantial difference. By learning to incorporate flash into your photography, you can ensure that your images are consistently well-lit and visually compelling.
2. Types of Flash: On-Camera vs. Off-Camera
When it comes to flash photography, there are two primary setups to consider: on-camera and off-camera.
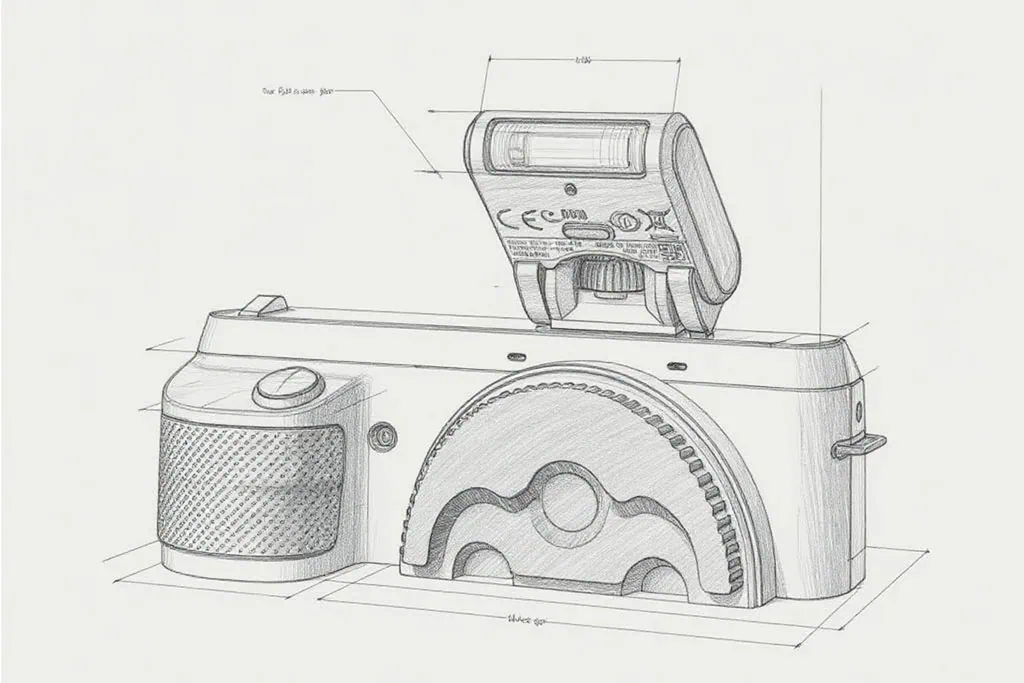
On-Camera Flash refers to the built-in flash found on many cameras or an external flash unit mounted directly onto the camera’s hot shoe.
This type of flash is convenient and easy to use, making it a popular choice for many photographers. However, the position of use is limited compared to an external flash.
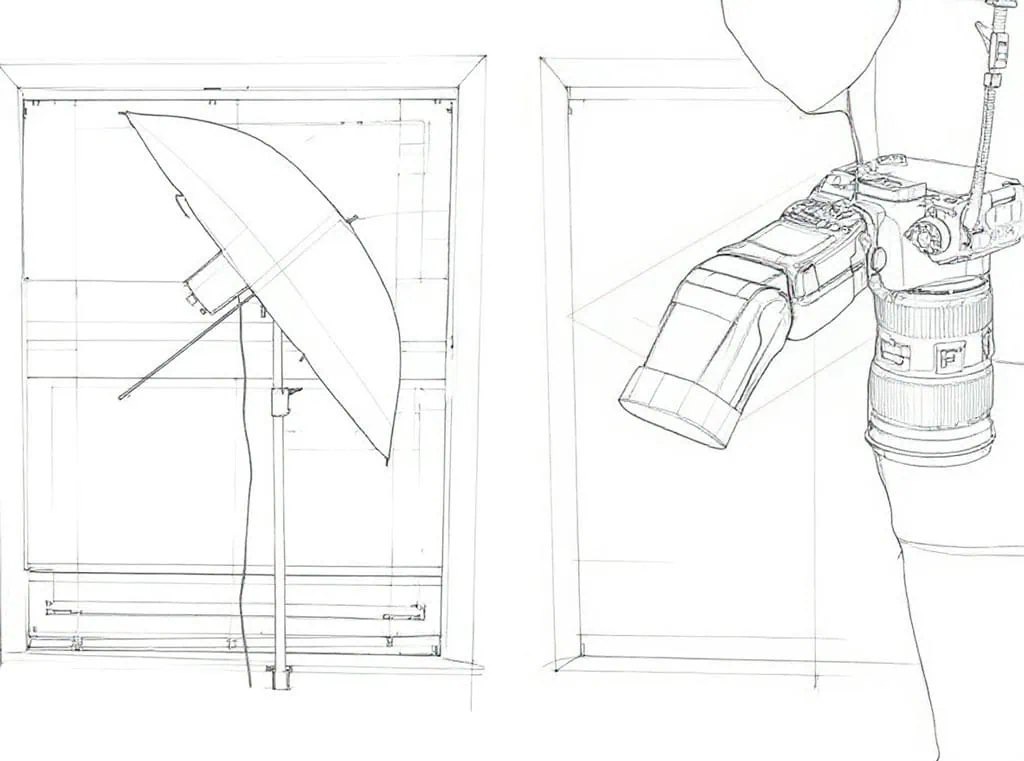
Off-Camera Flash, on the other hand, involves using a flash unit that is positioned away from the camera. This setup allows for greater control over the direction and quality of light, leading to more creative and professional-looking results.
Off-camera flash can be triggered wirelessly or with a cable, and it opens up a world of possibilities for manipulating light. By experimenting with different angles and distances, photographers can create soft, diffused light that enhances their subjects.
Choosing between on-camera and off-camera flash depends on your specific needs and the type of photography you are pursuing. On-camera flash is ideal for quick, spontaneous shots where convenience and speed are paramount. Off-camera flash, however, is better suited for controlled environments where you have the time to set up and adjust your lighting.
Understanding the strengths and limitations of each type of configuration will help you make the ideal decision and achieve the best results during the shooting phase.
3. Use of the Flash in Different Lighting Conditions
Lighting conditions can vary dramatically, and understanding how to use flash in different environments is crucial for achieving well-exposed and visually appealing images.
In low-light situations, such as indoor events or nighttime photography, flash is indispensable for illuminating your subject and preventing underexposure. Without flash, images taken in these conditions can appear dark and grainy, lacking the detail and vibrancy that well-lit photos possess.

Flash is also beneficial in bright, sunny conditions, where harsh shadows can be a challenge. In these scenarios, using fill flash can help to balance the light and reduce the contrast between the bright and dark areas of your image.
By adding a subtle burst of light, you can soften shadows and ensure that your subject’s features are clearly visible. This technique is especially useful for outdoor portraits, where the sun can create unflattering shadows on the face.
Another important consideration is backlighting, which occurs when your subject is positioned in front of a strong light source, such as the sun. While backlighting can create beautiful silhouettes, it can also result in an underexposed subject. Using flash to fill in the shadows can help to reveal details and create a more balanced exposure.
4. Flash Photography Techniques
Mastering Flash Photography involves more than just understanding the equipment; it also requires learning a variety of techniques to achieve the desired effect.
One fundamental technique is bounce flash, which involves directing the flash towards a reflective surface, such as a ceiling or wall, to create soft, diffused light. This approach helps to avoid harsh shadows and produces a more natural-looking illumination, which is ideal for portraits and indoor scenes.

Another essential technique is using flash modifiers, such as diffusers, softboxes, and reflectors. These accessories help to shape and soften the light, resulting in more flattering and professional-looking images.
Diffusers spread the light over a larger area, reducing the intensity and creating a softer effect. Softboxes provide a similar effect but with more control over the direction of the light. Reflectors can be used to bounce light back onto the subject, filling in shadows and adding dimension to the image.
Controlling the flash’s power and duration is also critical for achieving the desired exposure and effect. Flash units allow you to adjust the power output, giving you the flexibility to fine-tune the light according to your needs.
Additionally, understanding how to use flash in manual mode, rather than relying only on TTL , can give you greater control over the exposure and consistency of your images in specific situations.
5. Choosing the Right Flash for Your Camera
Selecting the right flash unit for your camera is a crucial step in mastering Flash Photography. There are various options available, each with its own features and capabilities. Understanding the differences between these options will help you choose the best flash for your needs and ensure that you have the tools necessary to achieve your creative vision.
The first consideration is whether to use a built-in flash or an external flash unit. Built-in flashes are convenient and easy to use, but they often lack the power and flexibility of external units. External flash units, also known as speedlights, offer more control over the direction and intensity of the light, making them a better choice for professional and advanced photographers. They can be mounted on the camera’s hot shoe or used off-camera for greater versatility.

Another important factor is the flash’s guide number, which indicates the maximum distance the flash can effectively illuminate at a given ISO setting and aperture.
A higher guide number means more power and a greater reach, which is useful for shooting in large environments. Additionally, features such as TTL (Through-The-Lens) metering, which automatically adjusts the flash output based on the camera’s exposure settings, can make it easier to achieve accurate and consistent results.
Compatibility with your camera is also essential. Ensure that the flash unit you choose is compatible with your camera’s brand and model, as this will ensure seamless integration and optimal performance.
6. Mastering Exposure: Flash Photography Basics
Exposure is a critical aspect of photography, and mastering it is essential for achieving well-lit and balanced images.
In Flash Photography, understanding how aperture, shutter speed, and ISO interact with your flash is key to controlling the exposure and creating the desired effect. Each of these settings plays a distinct role in determining the amount of light that reaches the camera’s sensor.
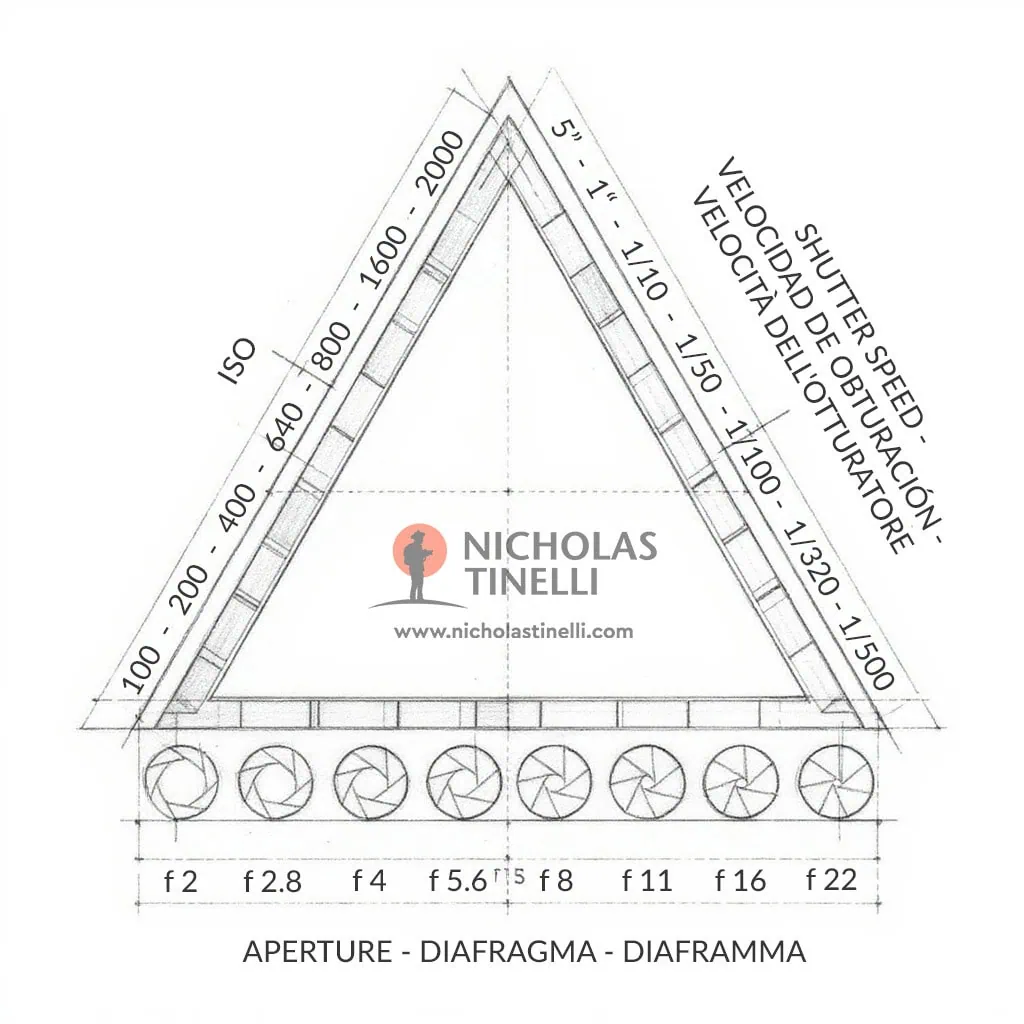
The Aperture, measured in f-stops, controls the size of the lens opening and, consequently, the amount of light that enters the camera. A wider aperture (lower f-stop number) allows more light to pass through, while a narrower aperture (higher f-stop number) reduces the amount of light. The aperture also affects the Depth of Field, which determines how much of the image is in sharp focus.
Shutter Speed determines the duration of the exposure, or how long the camera’s sensor is exposed to light. In flash photography, the shutter speed also influences the ambient light captured in the image. A faster shutter speed can help to freeze motion and reduce the impact of ambient light, while a slower shutter speed allows more ambient light to be captured, creating a balanced exposure with the flash. However, it is important to stay within the camera’s sync speed, which is the maximum shutter speed at which the flash can effectively sync with the camera.
ISO, or the camera’s sensitivity to light, is another critical factor in determining exposure. A higher ISO setting increases the sensor’s sensitivity, allowing for brighter images in low-light conditions. However, higher ISO settings can also introduce noise, which can reduce image quality. In flash photography, it is important to find the right balance between ISO, aperture, and shutter speed to achieve the desired exposure without compromising image quality.
7. Creative Uses of Flash: Portraits, Events, and More
Flash Photography offers endless creative possibilities, allowing photographers to experiment with light and create unique and captivating images.
One of the most popular applications of flash is in Portrait Photography, where it can be used to enhance the subject’s features and create flattering, professional-looking images.
Techniques such as bounce flash, fill flash, and using diffusers can help to soften the light and reduce harsh shadows, resulting in more natural and appealing portraits.

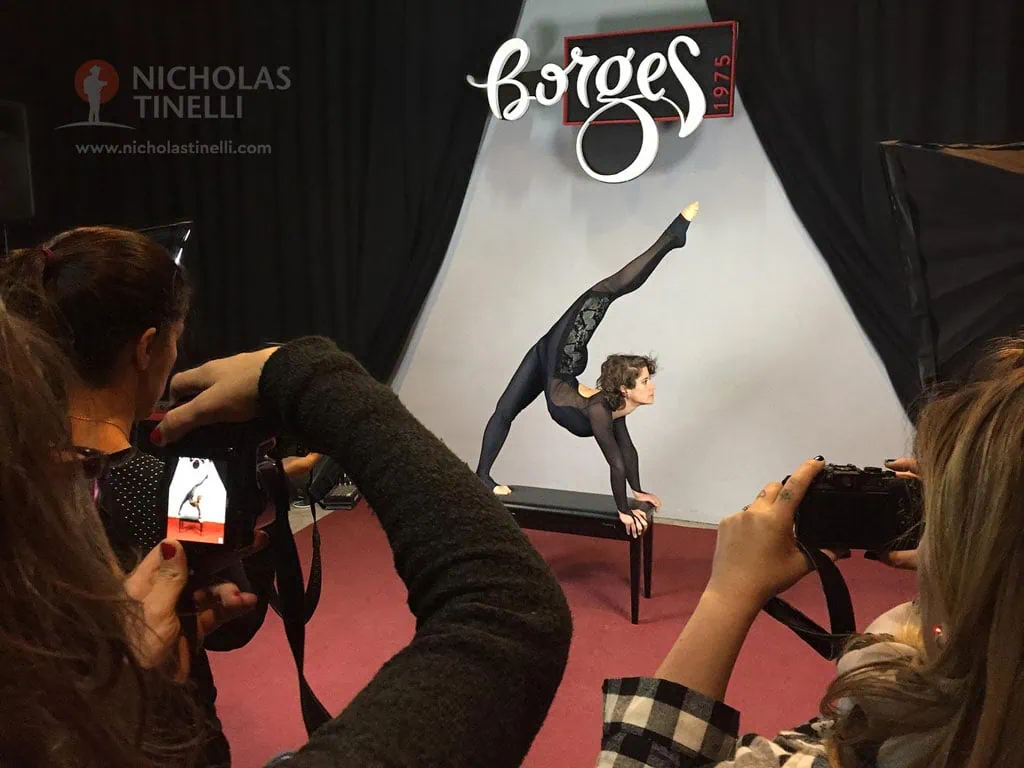
Events, such as weddings, parties, and concerts, also benefit greatly from the use of flash. In these dynamic and often low-light environments, flash can help to capture clear and vibrant images, ensuring that important moments are not lost in the shadows.
Using techniques such as rear curtain sync, where the flash fires at the end of the exposure, can create a sense of motion and energy in the images, adding a creative flair to your Event Photography.
Flash can also be used creatively in other areas of Photography:
In Macro Photography, where the subject is often very close to the lens, using a ring flash or off-camera flash can help to evenly illuminate the subject and reveal intricate details. In Product Photography, flash can be used to highlight textures and create dramatic lighting effects that enhance the visual appeal of the product. In Action Photography, high-speed sync allows for the use of flash with fast shutter speeds, freezing motion and capturing sharp, dynamic images.
8. Common Flash Photography Mistakes to Avoid
As with any skill, Mastering Flash Photography involves learning from mistakes and understanding how to avoid common pitfalls.
One of the most frequent mistakes is using the flash directly on the subject without any modification. This can result in harsh, unflattering light and deep shadows that detract from the overall quality of the image. Using techniques such as bounce flash or adding a diffuser can help to soften the light and create a more pleasing effect.
Another common mistake is overexposing or underexposing the image due to incorrect flash settings. It is important to understand how to adjust the flash power and balance it with the camera’s exposure settings to achieve the desired effect.
Relying too heavily on automatic flash settings can also lead to inconsistent results, as the camera may not always accurately assess the lighting conditions.
Learning how to use the flash in manual mode and adjusting it according to the situation is important in order to solve lighting problems in certain images. We cannot rely solely on automatic settings without knowing how the flash works and what values to take into account to achieve correct exposure.
Positioning the flash too close to the subject can also lead to problems such as red-eye and harsh shadows. It is important to maintain an appropriate distance between the flash and the subject and to consider the angle and direction of the light. Using off-camera flash and experimenting with different positions can help to create more natural and visually appealing lighting.
By paying attention to the details and continuously refining your techniques, you can overcome these challenges and create stunning images.
9. Advanced Flash Techniques: High-Speed Sync and Rear Curtain Sync
For photographers looking to take their flash photography skills to the next level, Advanced Techniques such as High-Speed Sync (HSS) and Rear Curtain Sync offer exciting possibilities.
High-Speed Sync allows the flash to fire at shutter speeds faster than the camera’s maximum sync speed, enabling photographers to use flash in bright conditions and with fast-moving subjects. This technique is particularly useful for outdoor portraits, where a wide aperture and fast shutter speed can create a shallow depth of field and beautifully blurred background.

Rear Curtain Sync, also known as second curtain sync, is another advanced technique that can add a creative touch to your images. In rear curtain sync, the flash fires at the end of the exposure, just before the shutter closes. This creates a trail of ambient light behind the subject, giving a sense of motion and energy to the image. This technique is especially effective in low-light conditions and for capturing dynamic scenes, such as dancers, athletes, or busy city streets.
Both high-speed sync and rear curtain sync require a good understanding of your camera and flash settings, as well as the ability to anticipate and control the lighting conditions. These techniques offer greater creative freedom and the ability to capture unique and compelling images that stand out from the crowd.
By mastering these advanced flash techniques, you can push the boundaries of your photography and create images that are not only technically proficient but also artistically innovative.
10. Flash Photography Guide Conclusion and Next Steps for Aspiring Flash Photographers
Mastering Flash Photography is a journey that requires dedication, practice, and a willingness to experiment. By understanding the essential basics, such as the types of flash, the importance of flash in different lighting conditions, and the key techniques for achieving the desired effect, you can elevate your photography skills and create images that truly shine.
Choosing the right flash for your camera and mastering exposure settings are also crucial steps in achieving consistent and professional-looking results.
Exploring the creative uses of flash and avoiding common mistakes will help you to develop a unique style and improve the overall quality of your images.
Advanced Techniques such as high-speed sync and rear curtain sync offer exciting possibilities for pushing the boundaries of your photography.

By continuously refining your skills and staying open to new ideas, you can achieve mastery in flash photography.
As you continue your journey in flash photography, remember that the key to success is practice and experimentation. Take the time to learn about your equipment, understand the principles of light, and try out different techniques and settings.
Join photography communities, attend workshops, and seek feedback from other photographers to gain new insights and inspiration.
Most importantly, have fun and enjoy the creative process. With dedication and a passion for learning, you can illuminate your path to becoming a Flash Photography Master.